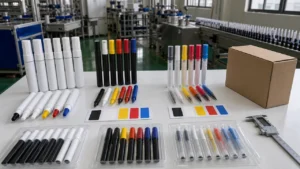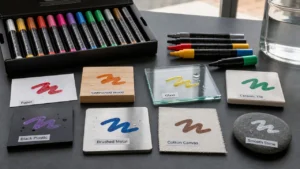
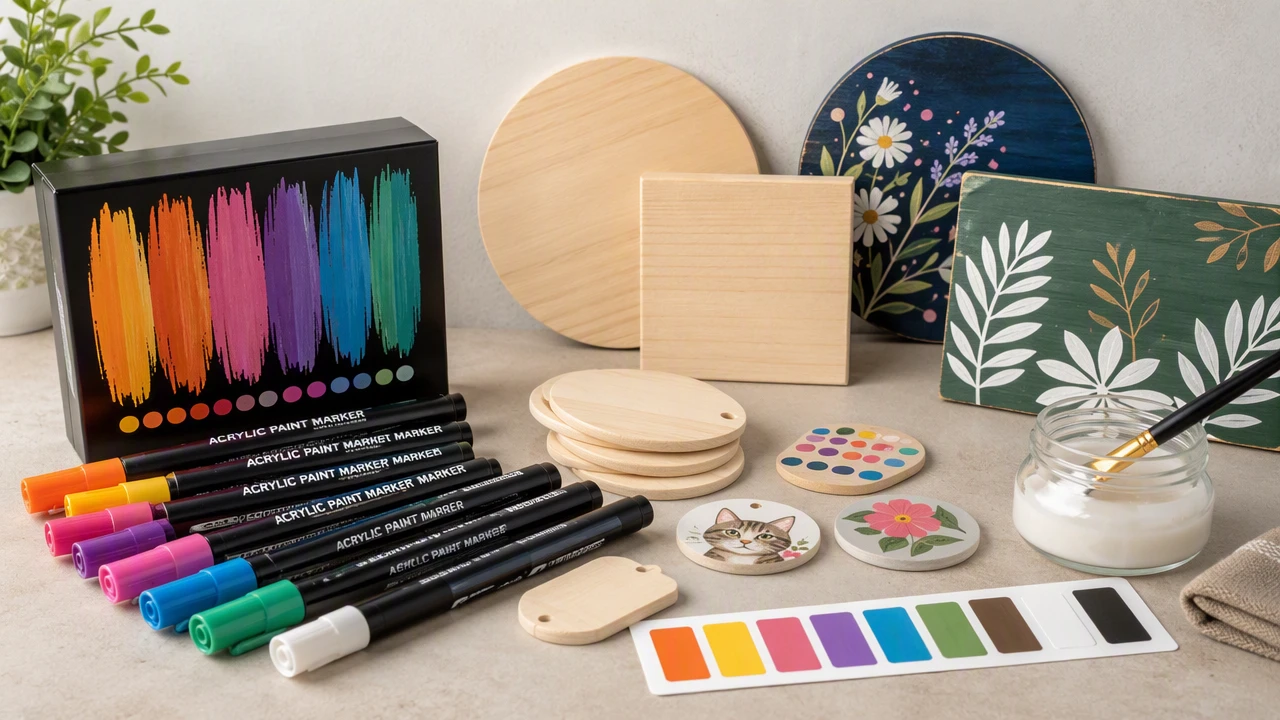
Acrylic paint markers on wood can make clean signs, ornaments, gift tags, boxes, toys, and home decor. Wood is less forgiving than paper. Grain, dust, water, sanding marks, and old finish all change how the paint sits. A marker that looks crisp on coated card can feather on raw pine or skip across rough plywood.
For most craft and retail work, water-based acrylic paint markers are the best start. They are easier to place for hobby use than solvent-heavy markers. They give opaque color. They work with simple steps. Sand. Clean. Test. Paint in thin layers. Dry. Seal if the item will be handled. Buyers comparing ink systems can also review the acrylic versus alcohol markers guide.
ZH Stationery supports buyers sourcing acrylic paint markers, private-label craft sets, and pack-ready programs. If your line includes wooden ornaments, sign kits, kids craft boards, gift tags, or DIY decor, use this guide to set the wood surface, tip, colors, seal steps, and checks before passing samples. For stone crafts, the paint pens for rocks guide explains how tip choice, dry, and sealer fit change on a mineral surface.
Acrylic Paint Markers on Wood: Quick Answer
Acrylic paint markers work best on clean, dry, lightly sanded wood. For raw wood, sand, clear dust, test, and use thin layers so color does not feather into grain. For painted or sealed wood, test grip first. Glossy coats can make paint bead, scratch, or peel. Seal the design with a fitting clear coat when the item will be handled, shown outside, or packed as a retail craft project.
For B2B sourcing, do not pass the marker from a paper swatch alone. Ask for wood samples. Raw wood. Sanded wood. Primed wood. Painted wood. Sealed wood. Then check opacity, line edge, dry time, sealer fit, scratch resistance, and whether the card matches the real process.
Quick Links
- Choose the Right Marker
- Wood Surface Comparison
- Prep the Wood Before Painting
- Paint in Thin Controlled Layers
- How to Seal Acrylic Paint Markers on Wood
- Common Mistakes
- B2B Kit Packaging and Claim Control
- Quality Control Tests
- Ask Better Supplier Questions
- FAQs
Choose the Right Marker
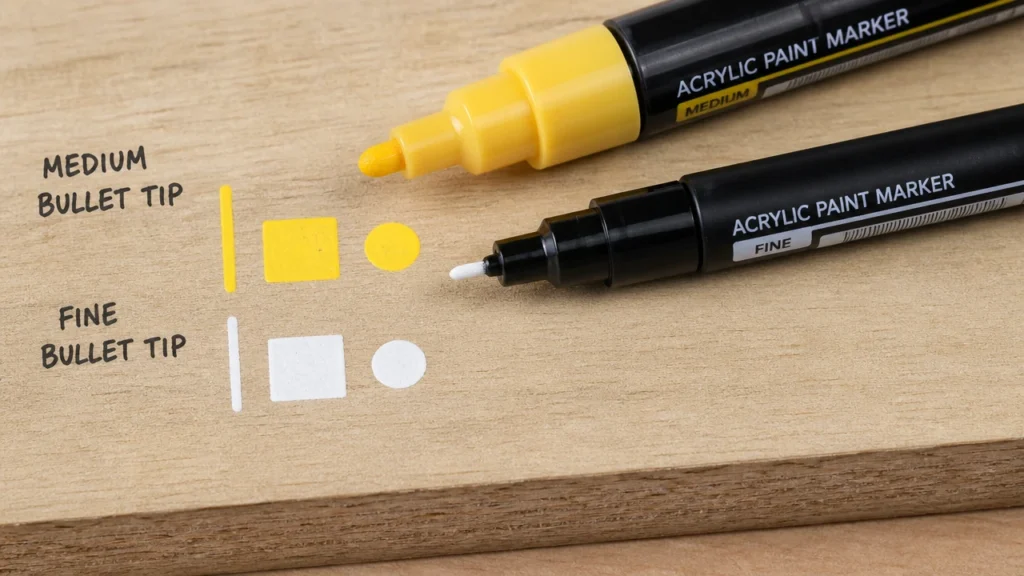
The best marker for wood crafts is usually a water-based acrylic paint marker with strong pigment, steady flow, and a tip that can handle light texture. A medium bullet tip is the safest pick for signs and ornaments. Fine tips are good for lettering and detail on smoother wood. Brush tips can look nice on paper or canvas. Rough grain can hurt them fast.
Flow control matters because wood can pull paint out of the tip unevenly. A valve system can help the user prime and restart flow. The valve press marker technology guide explains why shake-and-press markers need clear user instructions, especially for craft surfaces.
Oil-based paint pens can work on some wood work. They may bring smell, slower dry, and stronger warning needs. Normal permanent markers are easy to use. Their color may sink into raw wood and look weak. Alcohol markers are better for paper art than opaque wood decor.
Wood Surface Comparison
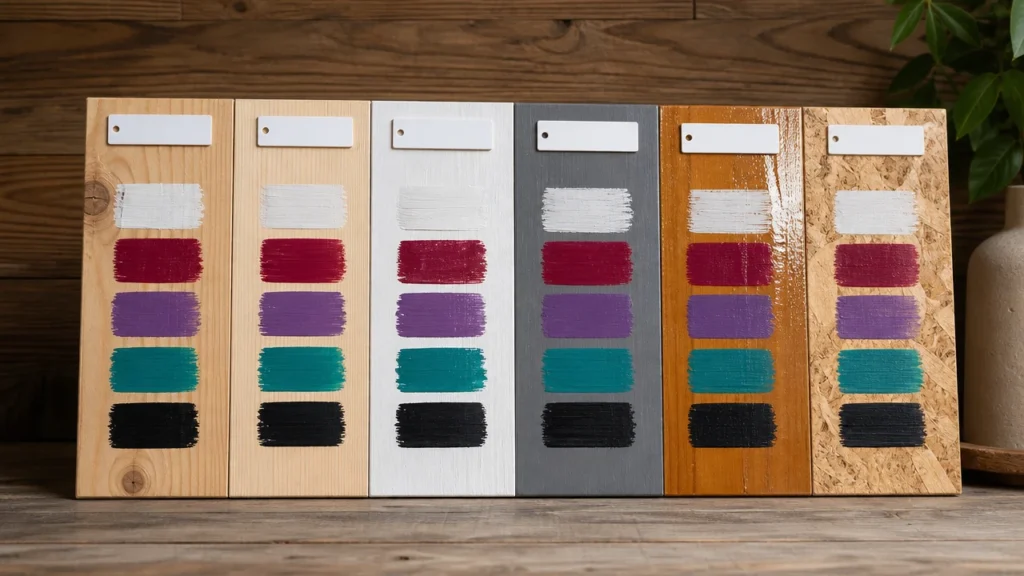
| Wood Surface | Marker Behavior | Buyer Recommendation |
|---|---|---|
| Raw unfinished wood | Paint may absorb into grain and feather at edges | Sand and test. Consider a base coat for brighter color. |
| Sanded unfinished wood | Cleaner lines and more predictable coverage | Best starting point for most wood craft kits. |
| Primed wood | Brighter color and less absorption | Good for product photos and beginner kits if instructions mention primer. |
| Painted wood | Works if the surface is matte and clean | Test adhesion before approving packaging claims. |
| Glossy sealed wood | Paint may bead, scratch, or peel | Light sanding or a suitable surface prep may be needed. |
| Plywood or MDF craft blanks | Can work well, but edges and dust affect results | Test both surfaces and edges before mass production. |
The main lesson is simple. Wood is not one surface. A marker that works on smooth basswood may not perform the same on rough pine, painted plywood, or glossy boards. Sample pass should use the real wood blanks buyers will get.
Prep the Wood Before Painting
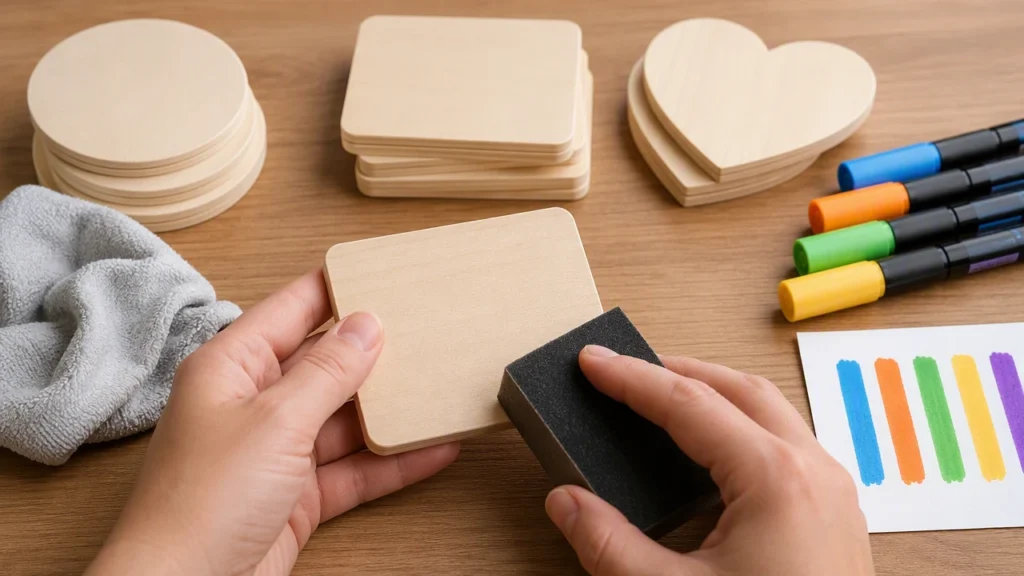
Start with clean, dry wood. Lightly sand. Clear dust with a dry cloth or tack cloth. Dust left on the wood can mix with paint and make lines look dirty. If the wood is oily, waxed, or glossy, the marker may not grip without more prep.
For brighter color, use a white or clear acrylic base coat. Let it dry before marking. That helps pale colors, metallics, pastels, and small lettering. If the kit does not include primer, do not show only primed samples in photos unless the pack explains that prep step.
A good card should tell users to test on the back of the wood or a spare piece first. That small step stops many complaints about feathering, weak opacity, and uneven dry.
Paint in Thin Controlled Layers
Shake the marker. Prime on scrap. Start with light pressure. Heavy pressure can flood the tip and push too much paint into grain. Thin layers dry cleaner and seal easier. For dark wood, let the first layer dry before a second pass.
For lettering, use smoother wood and keep the marker angle steady. For dots and small patterns, test whether the tip leaves a clean round mark or a fuzzy edge. For filled shapes, outline first, then fill the center with overlap strokes.
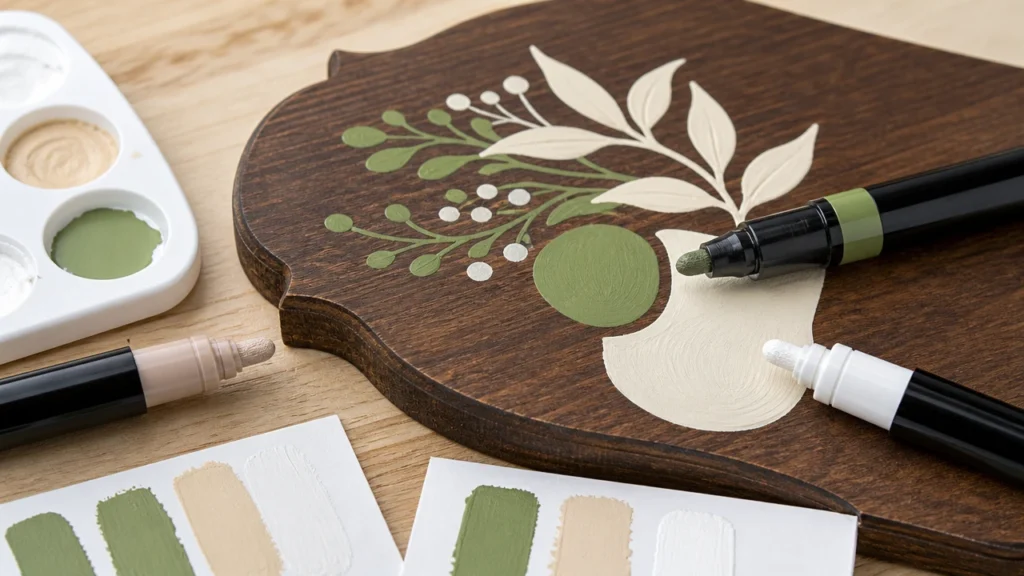
Color plans matter for retail sets. White, black, red, yellow, blue, green, gold, and silver sell well for wood signs. Metallics and super glitter acrylic markers can support gift ornaments and seasonal kits. Buyers should pass separate wood swatches for effect colors.
How to Seal Acrylic Paint Markers on Wood
Let the design dry fully before sealing. Test a fitting clear acrylic varnish, water-based polyurethane, or craft clear coat on a sample piece. Apply thin coats, not one heavy coat. Heavy sealer can soften fresh paint, drag color, make cloudy spots, or pool in grain.
Brush-on sealers give more control for small craft pieces and indoor kits. Spray sealers can cover even. Users must follow the sealer label and use fresh air. For kid craft kits, be careful with wording. A marker set can explain that adults may seal the piece apart. It should not casually tell children to spray coats.
The CPSC Art and Craft Safety Guide notes that spray fixatives may hold solvents that are risky to breathe. It advises safer picks where possible. Use careful pack copy and let the sealer label carry the safety instructions.
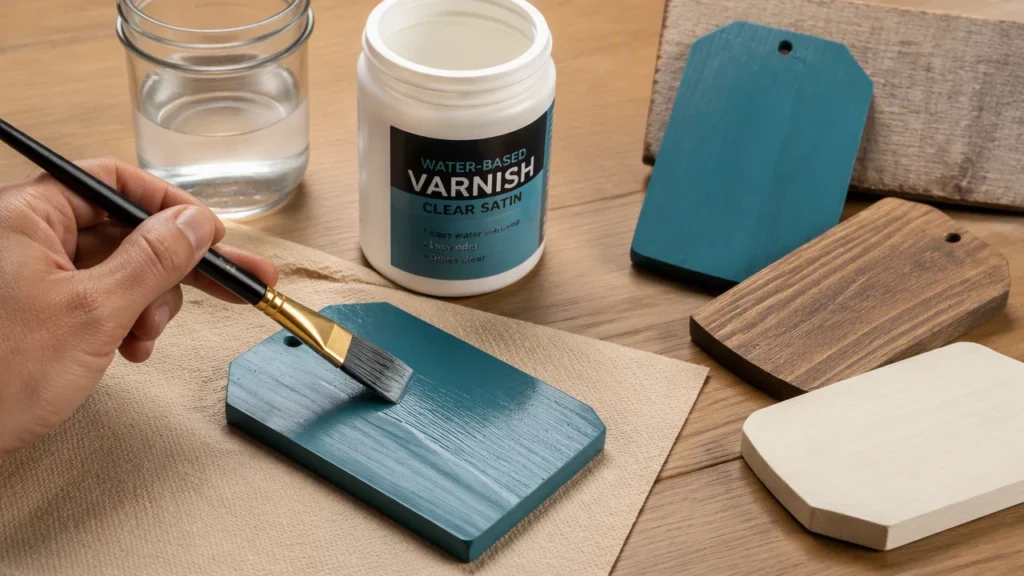
Sealer Options Buyers Should Test
- Clear acrylic varnish for indoor wooden ornaments and signs.
- Water-based polyurethane for handled craft boards when compatible with the marker.
- Matte finish when the buyer wants a natural handmade look.
- Gloss finish when the buyer wants brighter color in product photography.
- Outdoor-rated clear coat only when the final marker plus sealer system has been tested for the claim.
Common Mistakes
Most fails come from surface prep, not the marker alone. Raw wood can take paint. Dust can break the line. Glossy coat can reject paint. Wet paint can smear under sealer. A rough surface can hurt fine tips. Reviews often call these marker faults. The root cause may be the surface and steps.
| Mistake | What Happens | Better Instruction |
|---|---|---|
| Painting dusty wood | Color looks dirty or uneven | Sand lightly and remove dust before marking. |
| Using too much pressure | Tip floods or line edges feather | Prime on scrap and draw with light pressure. |
| Sealing too soon | Paint smears, lifts, or clouds | Let the design dry fully before testing sealer. |
| Using glossy coated wood without testing | Paint beads or scratches off | Test adhesion or lightly prepare the surface first. |
| Approving only paper swatches | Wood performance is unknown | Require real wood swatches before order approval. |
| Printing broad outdoor claims | Customer expectations exceed test evidence | Use limited claims tied to sealing and curing instructions. |
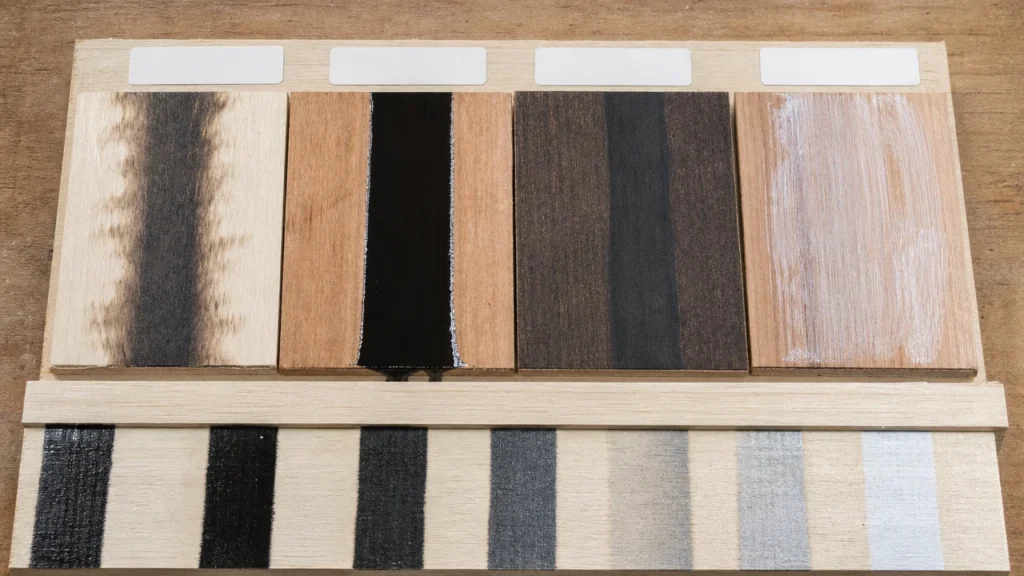
B2B Kit Packaging and Claim Control
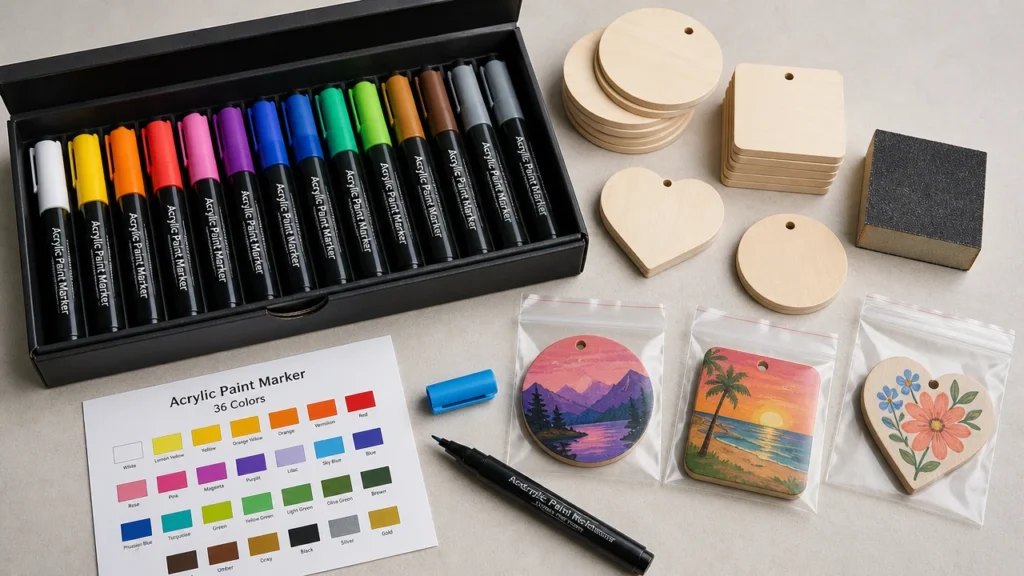
A wood craft kit should sell the process clearly. Show real wood samples, not only digital art. Add a card with sand, dust, prime, dry, layer, seal, and store steps. If the kit holds wooden blanks, test those exact blanks with the marker before mass production.
Pack space matters. The acrylic marker packaging guide can help buyers plan cards, swatch cards, warning panels, trays, spare tips, and carton labels. For Amazon or retail, decide whether the box front says wood crafts, wooden ornaments, wood signs, or multi-surface acrylic markers.
For safety and rules, do not treat performance claims and safety labels as the same thing. CPSC art materials guidance says art materials need toxicology review. ASTM D4236 labeling practice covers chronic risk mark practice. ACMI also gives background through its regulations overview and safety pages.
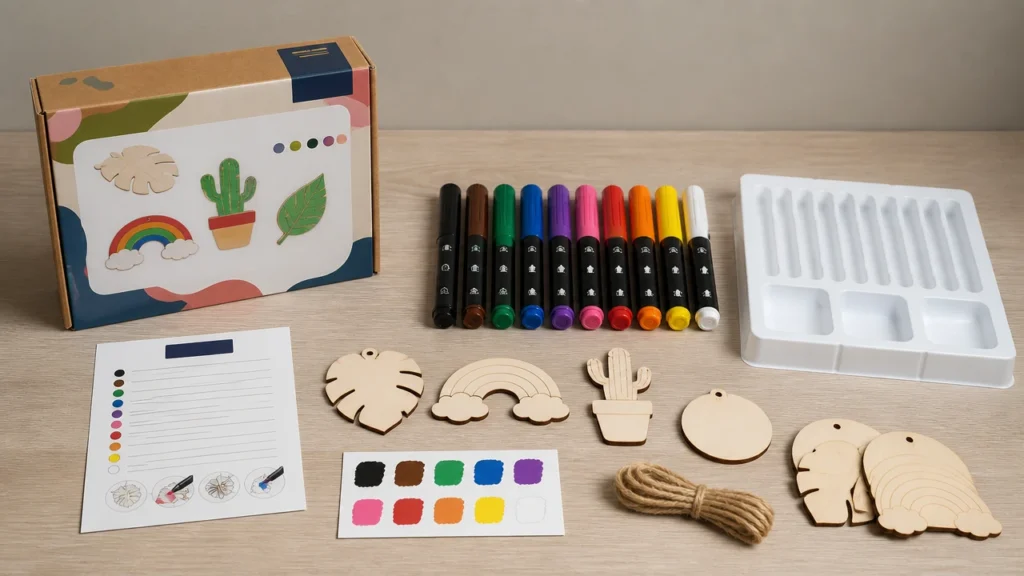
Quality Control Tests for Wood Craft Markers
A wood marker sample test should copy the buyer's real use. Test raw, sanded, primed, painted, and sealed wood. Swatch light, dark, metallic, and glitter effects. Check line edge, opacity, dry time, layering, sealer fit, cap storage, and tip wear on textured wood.
| QC Point | What to Check | Why It Matters |
|---|---|---|
| Opacity | White, yellow, pastel, metallic, and black on raw and primed wood | Weak colors can look poor in product photos and user projects. |
| Line edge | Feathering on raw wood and smoothness on sanded wood | Wood grain can make lettering look fuzzy. |
| Flow | First priming, restart after storage, dot control, and line consistency | Uneven flow causes blobs, dry strokes, and complaints. |
| Tip wear | Fine and medium tips on smooth wood and rough blanks | Rough wood can damage tips faster than paper or canvas. |
| Drying | Touch-dry time before second layer and before sealing | Sealing too early can smear or lift artwork. |
| Sealer compatibility | Brush-on and spray clear coats on sample pieces | Some sealers can drag pigment or cloud the finish. |
Before passing a private-label order, ask for kept samples and production swatches. ZH Stationery's certifications page, factory tour, and who we are pages give proof and context for buyer review.
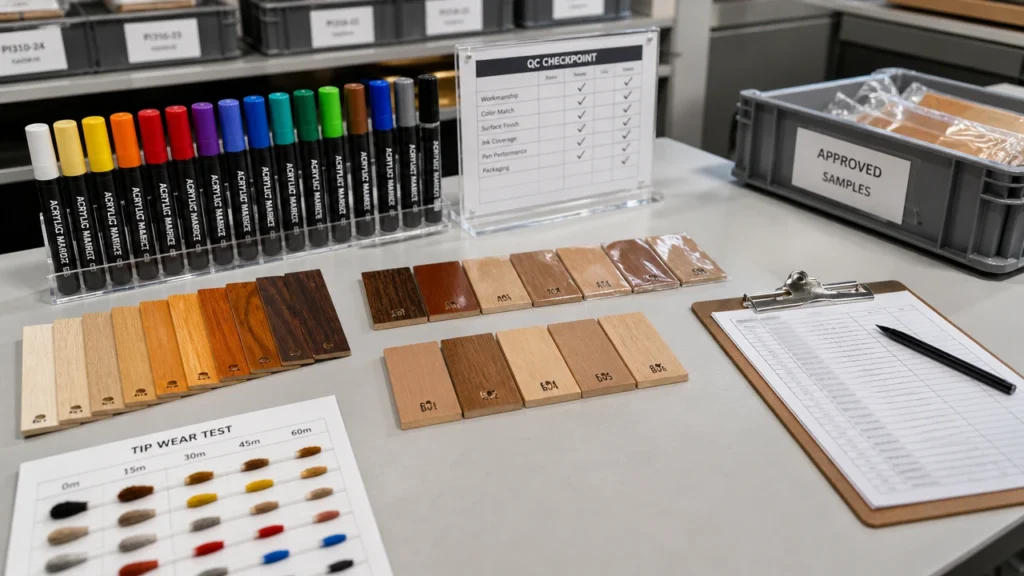
Ask Better Supplier Questions
A useful supplier answer should describe the wood test, the marker system, and the pack claim. A catalog yes is not enough.
- 1. Which wood surfaces did you test?
A useful answer separates raw wood, sanded wood, primed wood, painted wood, glossy sealed wood, MDF, plywood, and the exact blanks used in the kit. - 2. Which marker tip is best for wooden signs or ornaments?
A useful answer explains medium, fine, or extra-fine tip tradeoffs and mentions tip wear on textured wood. - 3. Does the marker need primer or base coat?
A useful answer says when primer helps, especially for pale colors, metallics, dark wood, or highly absorbent surfaces. - 4. How long should users wait before sealing?
A useful answer gives a practical drying and sample-test recommendation without promising one universal time for all wood and climates. - 5. Which sealer did you test with the marker?
A useful answer includes sealed samples and explains whether the sealer caused bleeding, clouding, gloss shift, or color change. - 6. What claims can we safely put on packaging?
A useful answer separates craft use, wood compatibility, outdoor display, safety labeling, and tested performance evidence.
FAQs
Can you use acrylic paint markers on wood?
Yes. Acrylic markers can work well on clean, dry, lightly sanded wood. Raw wood, glossy coats, and rough grain should be tested before pack claims are passed.
Do acrylic paint markers need primer on wood?
Not always. Primer or a base coat helps when the wood is very absorbent, dark, rough, or when pale colors need brighter cover.
How do you stop acrylic markers from bleeding on wood?
Sand the surface. Clear dust. Use light pressure. Paint in thin layers. Test a base coat if the grain pulls color outward.
Should acrylic marker designs on wood be sealed?
Seal when the item will be handled, sold as decor, shown outside, or packed in a craft kit with life hopes. Always test the sealer on a sample first.
Can acrylic paint markers be used on glossy wood?
They may work after surface tests. Glossy wood can cause beading, scratching, or poor grip. Light prep or a different coat may be needed.
What should B2B buyers test before ordering wood craft markers?
Test opacity, line edge, tip wear, dry time, layering, sealer fit, color shift, pack steps, cap storage, and rule files for the market.
Conclusion
Acrylic paint markers on wood work best when the surface is ready and the claims are controlled. Sand and clean the wood. Test. Paint in thin layers. Let the design dry. Seal only with a fitting clear coat. That process gives users a better result than treating wood like paper.
For sourcing, pass real wood samples before ordering. Review raw and primed swatches, sealed samples, card copy, pack claims, and rule files. That is the practical route to a wood craft kit that looks good on the shelf and acts honestly in the buyer's hands.
For fabric work, see the separate prep and life guidance: How to Use Acrylic Paint Markers on Fabric and Make the Design Last.
Related Reading
- How to Remove Paint Marker from Glass, Plastic, Wood and Fabric
- Are Acrylic Paint Markers Permanent and Waterproof? a Surface-By-Surface Guide
- Acrylic Paint Markers on Canvas: Layering, Blending and Common Mistakes
- How to Store Markers So They Do Not Dry Out
- Glitter Marker Manufacturer Guide: Ink Systems, Tips, Packaging and MOQ