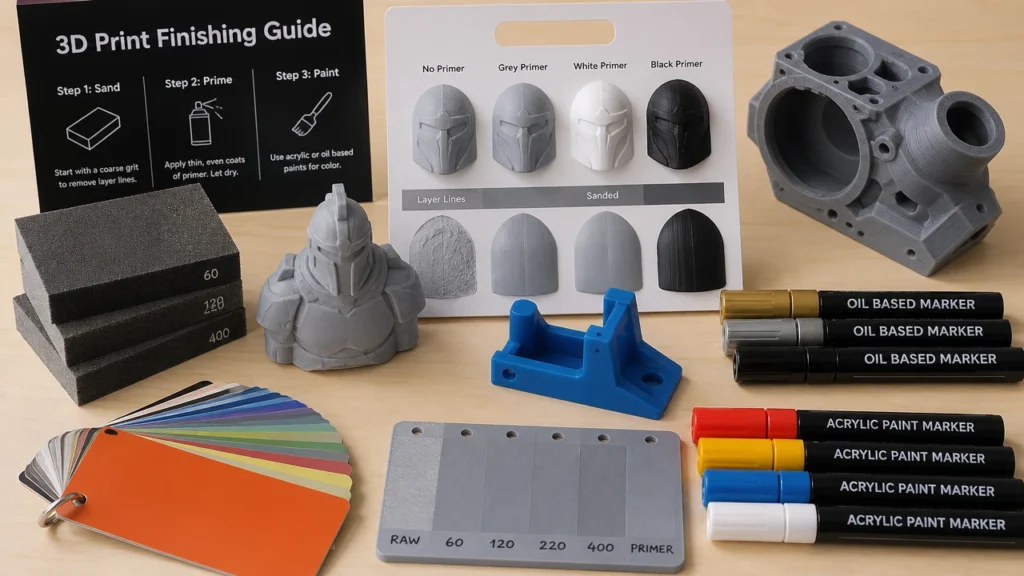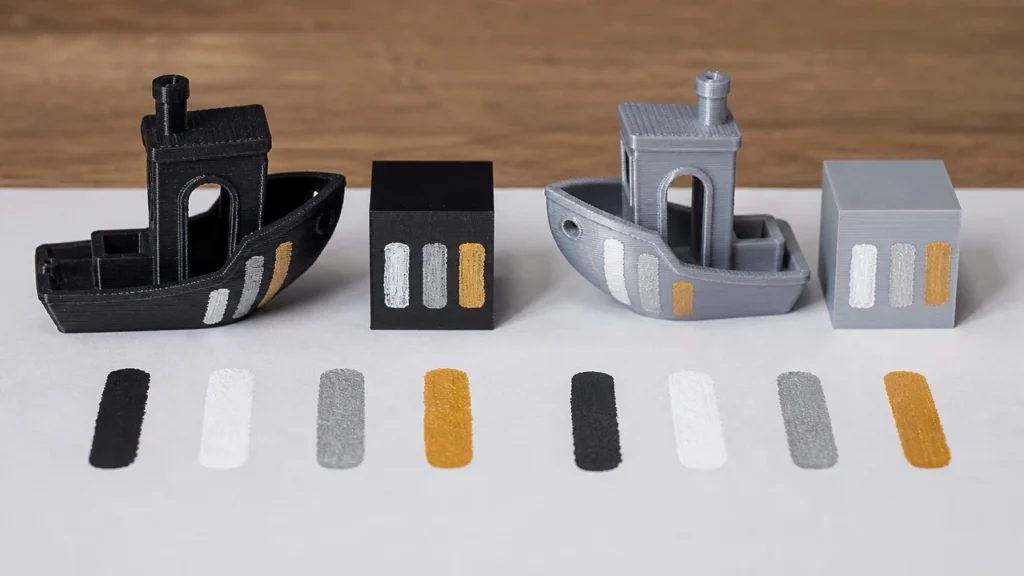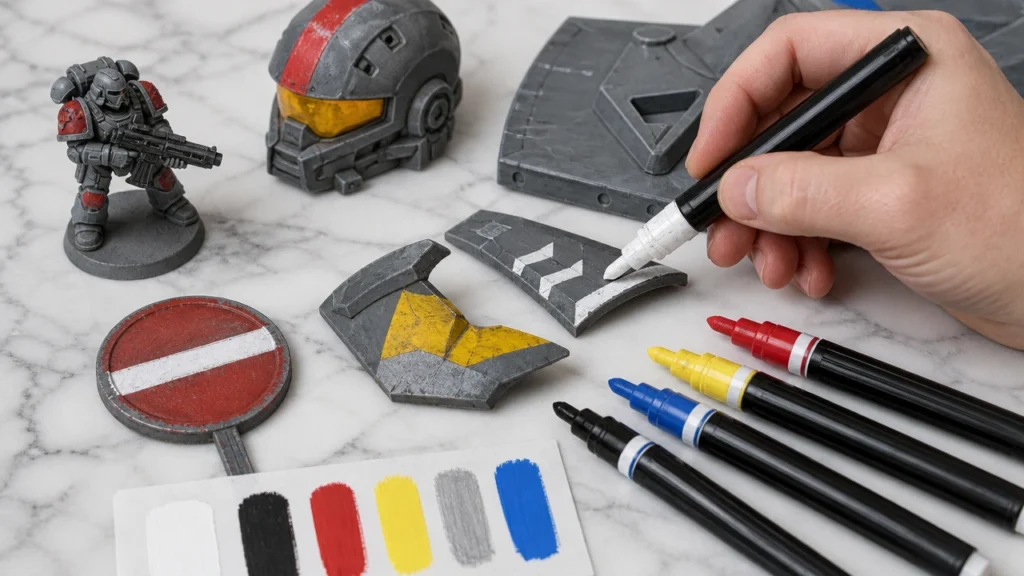
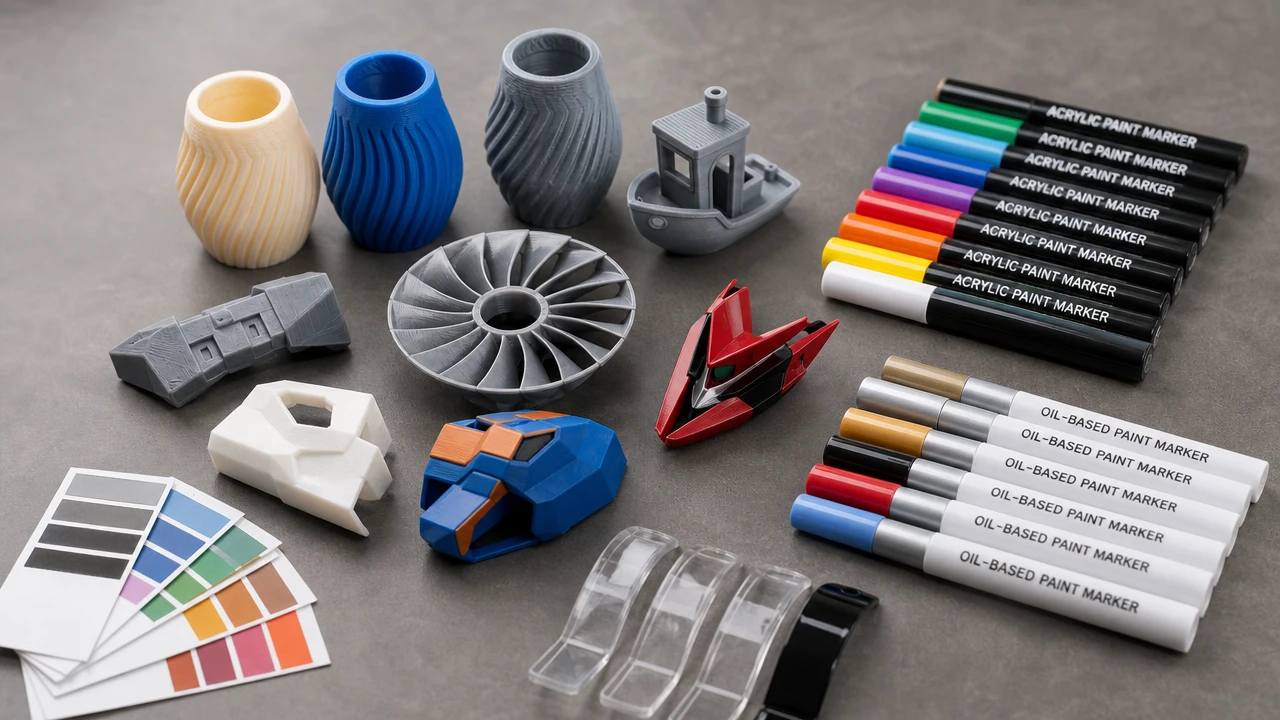
Paint markers for 3d prints are useful for adding eyes, panel lines, labels, weathering marks, edge details, color accents, and small graphics after a model has been printed. The best choice depends on the plastic, surface texture, sanding level, primer, handling, and whether the part needs a protective clear coat.
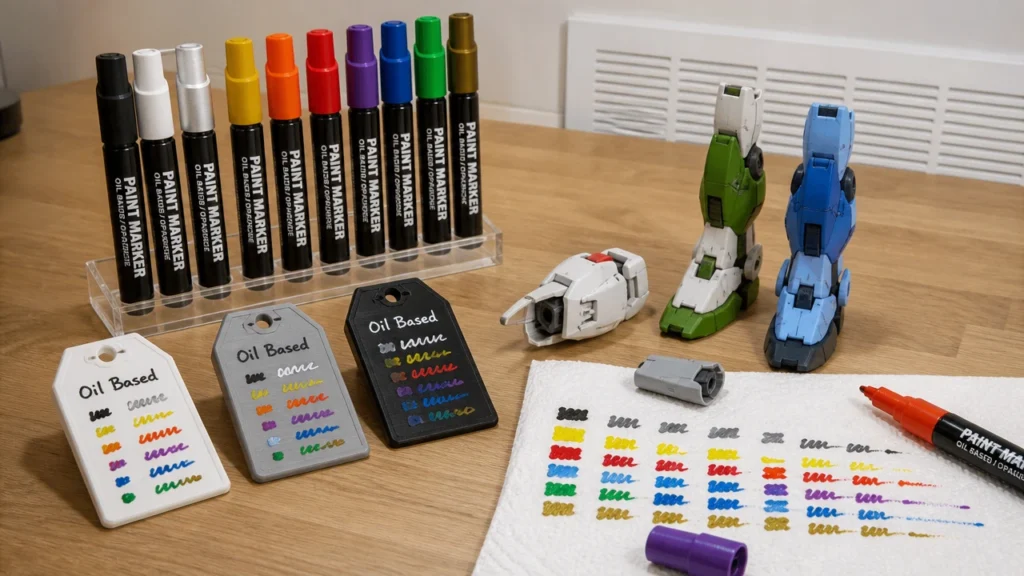
For most hobby, school, retail, and craft-kit uses, water-based acrylic paint markers are the safer first recommendation. They are easier to position for general creative use, usually have lower odor than solvent-heavy options, and work well on primed or lightly sanded plastic. Oil-based markers can be stronger on some hard plastic surfaces, but they need more caution around odor, drying time, ventilation, and packaging claims.
ZH Stationery supports buyers planning acrylic paint markers, private label marker sets, and B2B packaging programs. If you sell to 3D printing hobbyists, model-kit users, classrooms, makerspaces, or online craft channels, define the print material, surface prep, marker type, sealing instruction, and sample-test method before approving a production order.

Paint Markers for 3D Prints: Quick Answer
Choose water-based acrylic paint markers for most 3D printed models when the surface is sanded, cleaned, and preferably primed. They are a good fit for PLA models, decorative miniatures, cosplay props, signs, classroom projects, and retail craft kits. Choose oil-based markers only when the buyer has tested the specific plastic and needs stronger adhesion or a harder-looking finish, and when the product can carry the right safety and ventilation instructions.
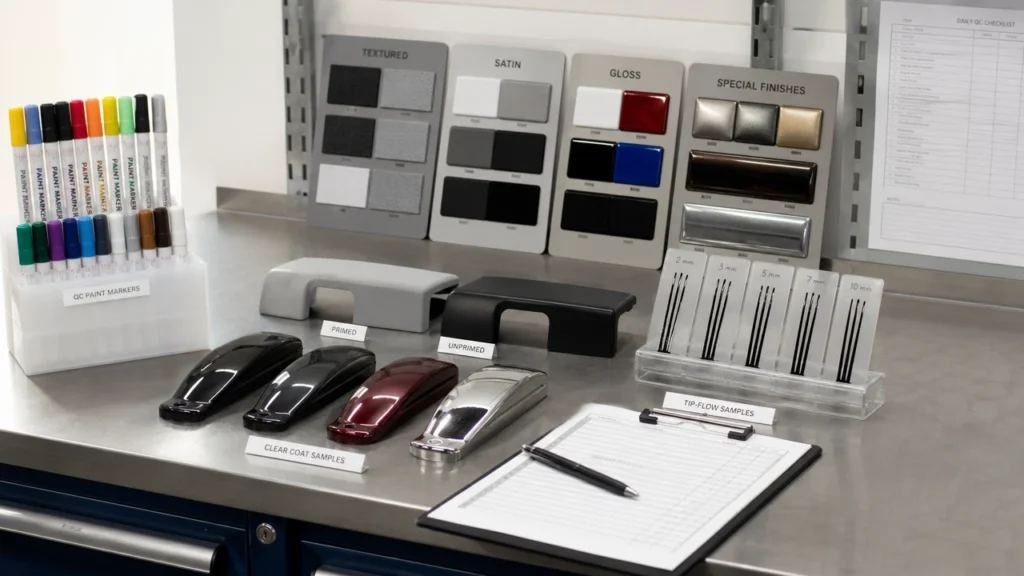
Do not approve either option from a flat paper swatch. Test on actual 3D printed parts with layer lines, curves, supports removed, sanded areas, primer, and clear coat. PLA, ABS, PETG, resin prints, and painted prints can behave differently.
快速連結
- Acrylic vs Oil-Based Markers
- 3D Print Surface Comparison
- Prep the Print Before Marking
- When Acrylic Markers Work Best
- When Oil-Based Markers May Fit
- Sealing and Clear Coat Tests
- B2B Packaging and Claim Control
- Quality Control Tests
- 提出更好的供應商問題
- 常見問題
Acrylic vs Oil-Based Markers
| 選項 | 最佳適用範圍 | Strength | Risk to Manage |
|---|---|---|---|
| Water-based acrylic markers | Primed PLA, decorative models, school and craft kits, cosplay details | Opaque color, easier instruction set, lower odor positioning | Needs surface prep, drying time, adhesion testing, and sealing for handled parts |
| Oil-based paint markers | Selected hard plastic parts after testing | Can give stronger-looking marks on some smooth or hard surfaces | Odor, slower drying, solvent caution, ventilation needs, and stronger label review |
| 永久性馬克筆 | Quick outlines or temporary labels on selected prints | Easy to use and fast drying | Weak opacity and less craft-ready color coverage |
| Alcohol markers | Paper sketches, concept color work, or some pale plastic tests | Good color blending on paper | Usually not ideal for opaque marks on 3D printed plastic |
| Brush paint | Large model coverage and base coats | More even coverage for big areas | Slower process and more cleanup than a marker set |
The marker choice should follow the job. If the user wants small details on a primed mini, acrylic is usually enough. If the buyer wants a hard mark on a smooth plastic tag, oil-based markers may be worth testing. If the user wants to color a whole model, markers may not be the right primary tool.

3D Print Surface Comparison
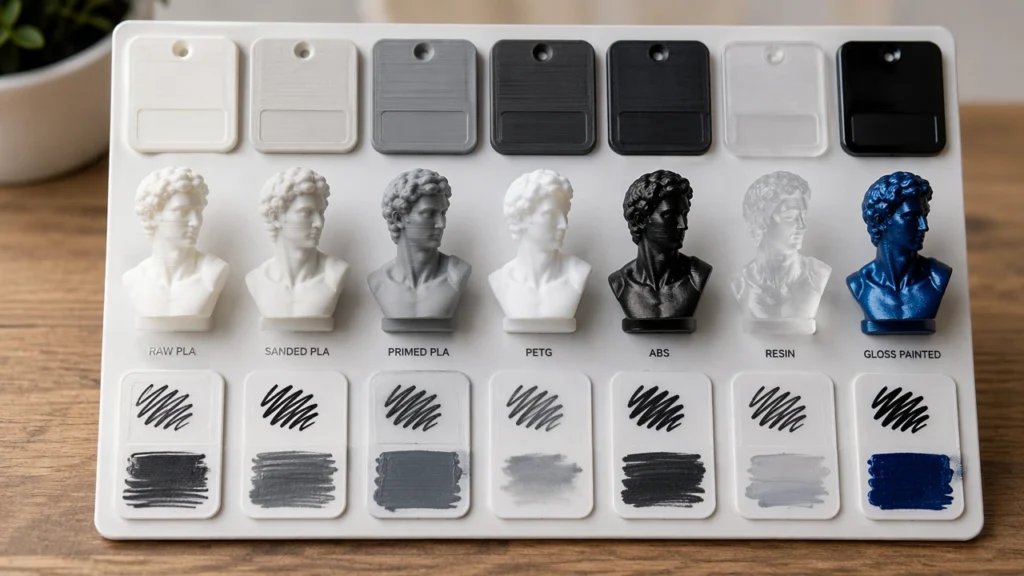
3D printed parts are not one surface. Layer lines, filament type, sanding marks, primer, support scars, and resin cure can all affect marker adhesion. A smooth PLA test tile may not predict performance on a curved cosplay prop or a detailed resin miniature.
| Print Surface | Marker Behavior | Buyer Recommendation |
|---|---|---|
| Raw PLA | May accept acrylic marks, but layer lines can cause uneven edges | Sand, clean, and test before claims. |
| Sanded PLA | Cleaner line edge and better contact area | Best practical starting point for acrylic marker kits. |
| Primed PLA or ABS | More predictable opacity and adhesion | Recommended for product photos and model-kit instructions. |
| PETG | Can be slick and less forgiving | Require adhesion and scratch tests before approval. |
| Resin prints | Can work after proper cleaning and curing, but surface chemistry varies | Test on the buyer’s actual resin and post-process method. |
| Glossy painted prints | Paint marker may bead or scratch | Light surface prep or a different coating may be needed. |
NIOSH notes that 3D printing has health and safety gaps and has studied printer emissions and controls in office-style settings through its NIOSH 3D printing emissions note. That does not decide marker performance, but it reminds buyers that maker and classroom products need clear safety context, especially when post-processing adds sanding, solvents, or spray coatings.

Prep the Print Before Marking
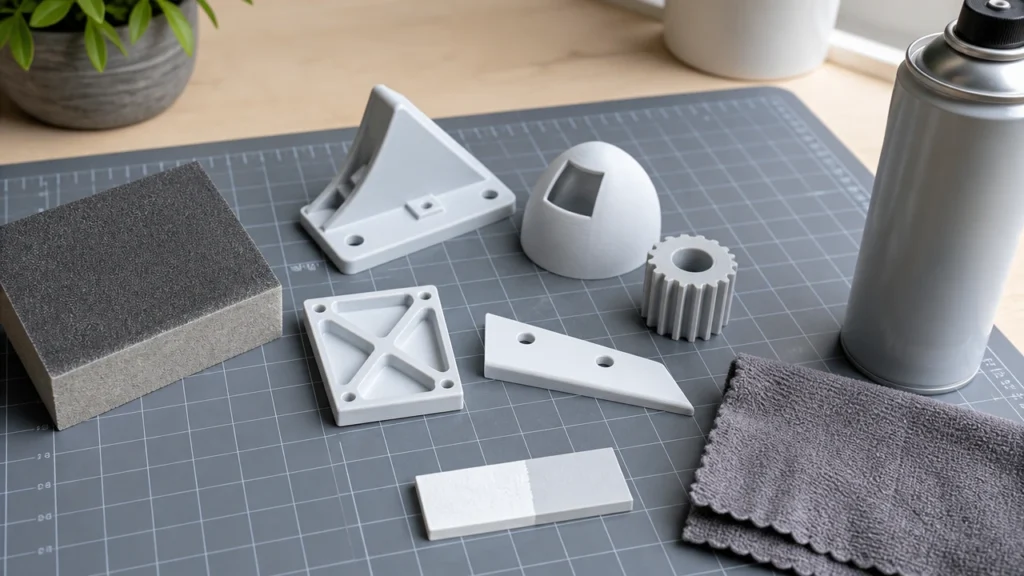
Preparation decides whether the marker looks clean. Remove support marks, sand rough areas, wipe off dust, and make sure the print is dry. If the part has grease, release residue, uncured resin, or sanding dust, the marker may skip, bead, or peel.
For better color, use a compatible primer before marking. Primer can reduce plastic slickness, hide layer lines, and make pale colors brighter. If your retail kit does not include primer, do not show only primed samples in product photos unless the instructions tell users to prime first.
A valve marker needs a simple first-use process: shake, press the tip on scrap material, test flow, then mark the print with light pressure. The 閥門壓印標記技術 guide explains why priming and flow control matter for paint marker users.

When Acrylic Markers Work Best
Acrylic paint markers work best on 3D prints when the user needs opaque details and can prepare the surface. They are practical for miniature bases, character eyes, small props, printed signs, cosplay accent lines, classroom projects, and decorative model parts.
The commercial advantage is that acrylic markers are easier to explain. A retail card can say to sand lightly, clean dust, prime for best coverage, use thin layers, let dry, and seal handled pieces. That is easier for a broad craft audience than asking them to handle strong-smelling solvent markers.
For buyers building an acrylic marker SKU, start with useful contrast colors: white, black, red, yellow, blue, green, silver, gold, and a few bright accents. The custom acrylic marker sourcing guide can help buyers connect color planning with private label sourcing.

When Oil-Based Markers May Fit
Oil-based paint markers may fit some 3D print projects when the buyer needs stronger marks on selected hard plastic surfaces and accepts a more controlled use case. They can be useful for adult model users, industrial-style labels, hard plastic tags, or parts that need a more enamel-like finish after testing.
The tradeoff is user education. Oil-based markers can have stronger odor and longer drying time. Some products may need more caution language. They are not a default recommendation for young children, classrooms, or poorly ventilated hobby spaces.
OSHA’s OSHA spray finishing ventilation rule requires adequately ventilated spray areas for spray finishing operations that release solvent vapors. A hand marker is not the same as industrial spray finishing, but the source is a useful reminder: solvent-heavy finishing and coating claims need careful safety review, especially when packaging tells users to seal or topcoat a project.

Sealing and Clear Coat Tests
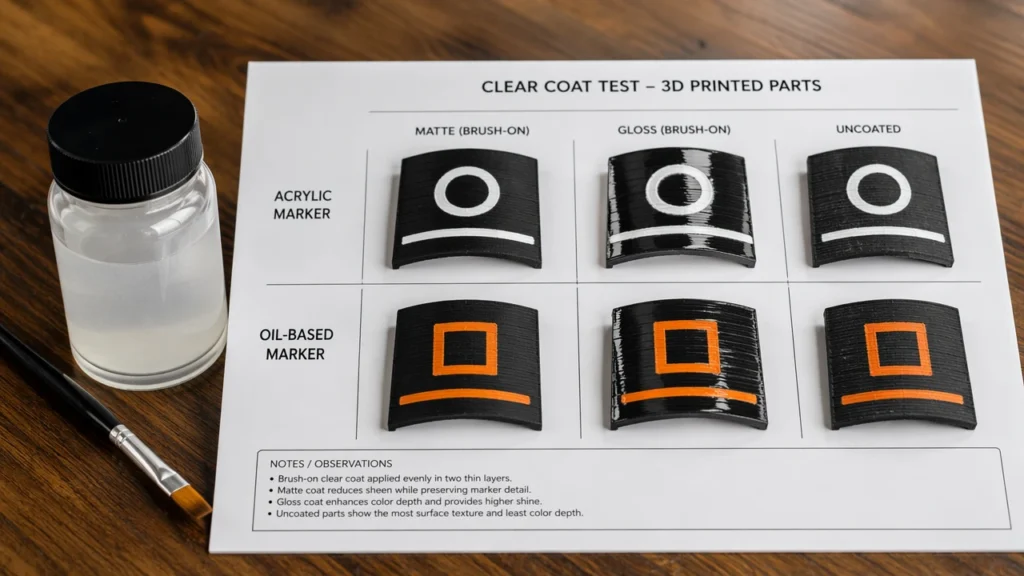
A clear coat can protect marker details on handled 3D prints, but it can also ruin a sample if the marker is not dry or the coating is incompatible. Test brush-on and spray clear coats on sample parts before writing packaging instructions. Look for smearing, clouding, gloss shift, tackiness, cracking, and color change.
For most consumer craft kits, the safer wording is to let the marker dry fully and test a compatible clear coat on a spare area. If the final item will be handled often or displayed outdoors, sealing may help, but the claim should be tied to the tested marker, plastic, primer, and clear coat system.
Avoid broad claims such as permanent on all 3D prints, waterproof on all plastics, works on every filament, or safe for all model coatings. Those claims are too wide unless the buyer has real test evidence for each material and use condition.

B2B Packaging and Claim Control
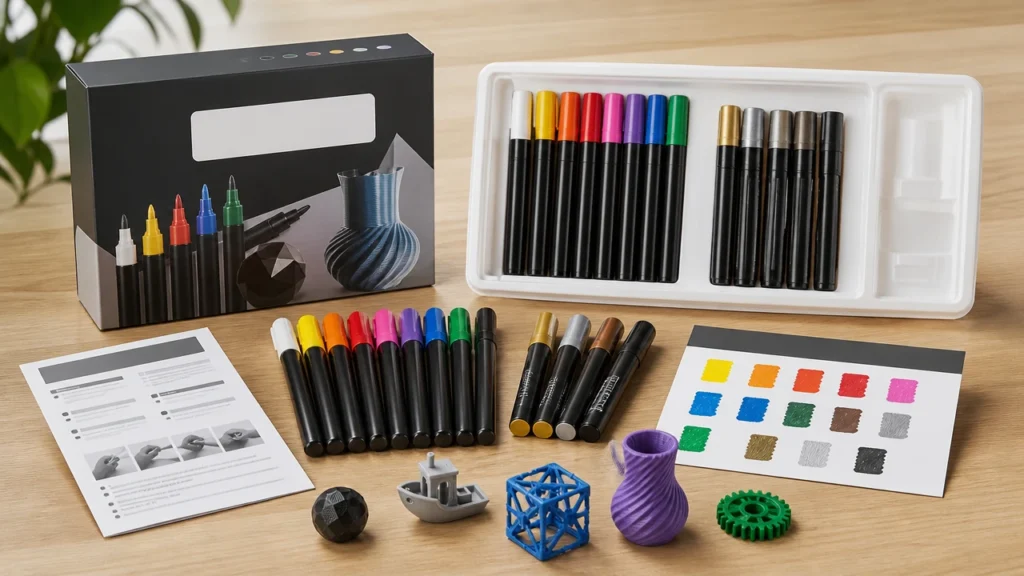
A 3D print marker kit needs a different instruction card from a paper marker set. It should explain surface prep, sanding dust removal, primer, thin layers, drying time, clear coat testing, cap storage, and age guidance. If the product is sold to makerspaces or schools, the copy should be plain and practical.
Packaging also needs space for warning panels and compliance language. The 藝術材料指引 explains that art materials need toxicological assessment, and ASTM D4236 labeling practice covers chronic hazard labeling practice. ACMI’s ACMI materials safety page gives buyers background on AP and CL seal meanings.
滾珠筆與原子筆的 壓克力馬克筆包裝選項 guide can help buyers plan instruction cards, color swatches, trays, barcode labels, replacement tips, and carton labels. Do not squeeze sealer and surface-prep guidance out of the box just to add more marketing copy.

Quality Control Tests for 3D Print Markers
A useful sample test should use actual printed parts, not only molded plastic sheets. Include raw PLA, sanded PLA, primed PLA, ABS, PETG, resin samples when relevant, curved parts, layer-line areas, and small details. Test every color that may behave differently, especially white, yellow, metallic, pastel, black, and neon colors.
| QC Point | What to Check | 重要性說明 |
|---|---|---|
| Opacity | Light and dark colors on raw, sanded, and primed parts | Weak colors disappoint model users and hurt product photos. |
| Adhesion | Scratch after drying and after clear coat | 3D prints are handled, assembled, and displayed. |
| Line edge | Layer lines, curves, support scars, and small details | Uneven surfaces can break clean lettering and panel lines. |
| Flow | First priming, restart after storage, dot control, and tip pressure | Blobs and dry strokes are common marker complaints. |
| Drying | Touch-dry time and cure before clear coat | Sealing too early can smear or cloud the design. |
| Compatibility | Primer and clear coat combinations | The whole finishing system matters more than the marker alone. |
Before approving a private label program, ask for retained samples and test photos. ZH Stationery’s 認證頁面, 工廠參觀, 以及 我們是誰 pages provide proof and factory context for buyer review.

提出更好的供應商問題
A useful supplier answer should identify the print material, marker formula, prep method, and claim limits. A catalog yes is not enough.
- 1. Which 3D print materials did you test?
A useful answer separates PLA, ABS, PETG, resin, primed parts, painted parts, and the buyer’s actual printed samples. - 2. Do you recommend acrylic or oil-based markers for our target user?
A useful answer explains odor, drying time, opacity, adhesion, safety wording, and whether the product is for children, hobbyists, schools, or adult model users. - 3. Does the marker need sanding or primer?
A useful answer explains when sanding, cleaning, or primer improves line edge, opacity, and adhesion. - 4. Which clear coat did you test with the marker?
A useful answer includes sealed samples and notes any smearing, clouding, gloss shift, tackiness, or color change. - 5. What instructions should go inside the retail kit?
A useful answer covers surface prep, first-use priming, thin layers, drying, sealing, cap storage, and adult supervision for coatings when needed. - 6. What compliance documents apply to this SKU?
A useful answer separates art material labeling, formula review, age grading, market-specific documents, and any coating or solvent-related documents if included.
常見問題
These answers should match the Rank Math schema file if the FAQPage schema is imported.
1. What paint markers work best on 3D prints?
Water-based acrylic paint markers are the best starting point for most 3D printed models when the part is sanded, cleaned, and preferably primed. Oil-based markers may fit selected hard plastic parts after testing.
2. Do acrylic paint markers work on PLA?
Yes, acrylic paint markers can work on PLA, especially when the print is sanded, cleaned, and primed. Raw PLA should still be tested for adhesion, line edge, and scratch resistance.
3. Are oil-based markers better for 3D prints?
Not always. Oil-based markers may adhere well on some hard plastic surfaces, but they can bring stronger odor, slower drying, and more caution wording. They should be tested against the target plastic and user group.
4. Should 3D prints be primed before using paint markers?
Primer is recommended when the user wants brighter color, smoother line edges, and better adhesion. It is especially useful on visible layer lines, dark filament, or parts that will be handled.
5. Should paint marker designs on 3D prints be sealed?
Seal handled or display parts when durability matters, but test the clear coat first. Some coatings can smear, cloud, or soften marker layers if the marker is not dry or the coating is incompatible.
6. What should B2B buyers test before ordering markers for 3D prints?
Test opacity, adhesion, line edge, drying time, primer compatibility, clear coat compatibility, scratch resistance, cap storage, packaging instructions, and compliance documents for the target market.
結論
Paint markers for 3d prints should be chosen by surface and user. Acrylic markers are usually the better first option for broad craft, school, and hobby channels. Oil-based markers may fit narrower adult or hard-surface uses after testing. Neither option should be approved from paper swatches alone.
For sourcing, ask for real 3D printed samples, not only catalog claims. Test raw, sanded, primed, and sealed parts. Review odor, drying, adhesion, clear coat behavior, packaging instructions, and compliance documents before placing a private label order.