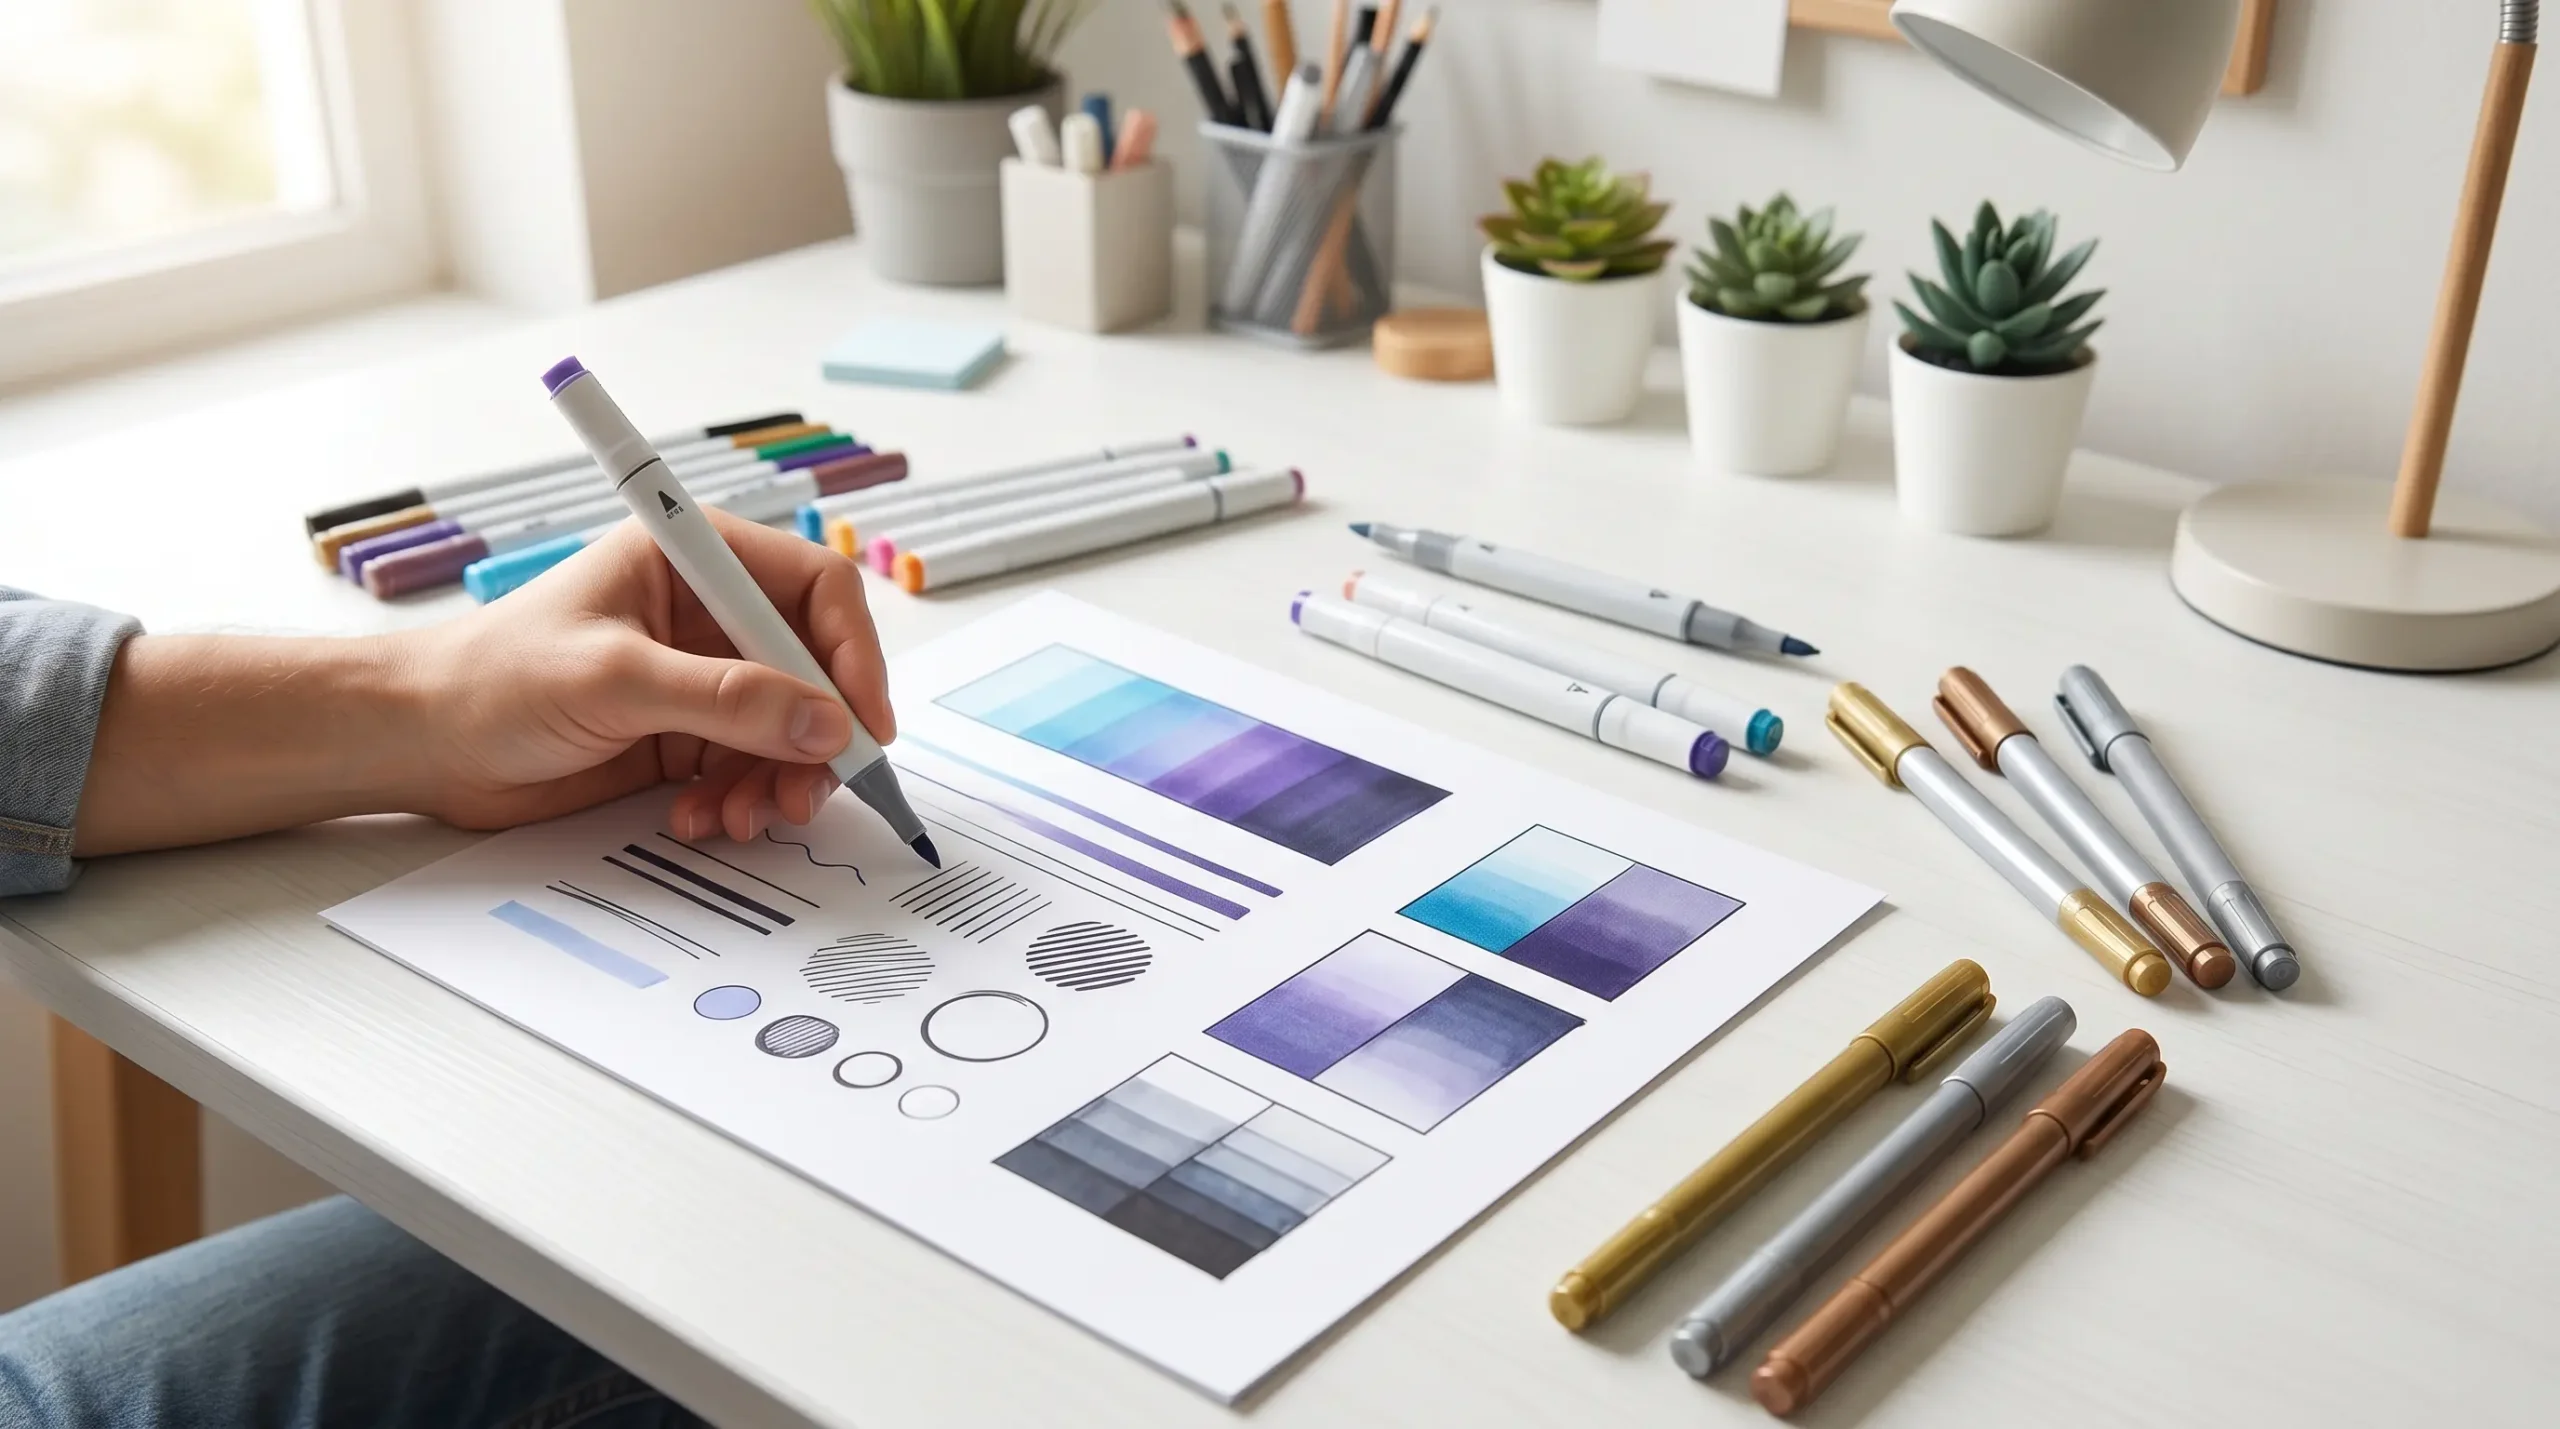
If you want clean lines, smooth color, and more control in your artwork, learning the right marker techniques every beginner artist should learn is the best place to start. Many new artists focus only on color choice, but strong results also depend on tip shape, ink type, paper quality, and the order in which you apply color.
As a manufacturer with 26+ years of OEM/ODM experience in marker pens and metallic markers, ZH STATIONERY has seen a common pattern: beginners improve much faster when they understand how markers are built and how ink behaves on paper. From alcohol-based ink flow consistency to nib durability and safety testing under EN71 and ASTM D-4236 standards, the technical side of marker design affects the user experience more than many artists realize.
This guide covers the marker techniques every beginner artist should learn, with practical advice you can apply right away.
Table of Contents
What Are The Marker Techniques Every Beginner Artist Should Learn?
The marker techniques every beginner artist should learn include a small set of core skills that build control and confidence fast.
These include:
- Choosing the right marker tip
- Understanding alcohol-based vs water-based ink
- Layering colors in the correct order
- Blending before ink dries
- Using even pressure for clean fills
- Creating highlights and shadows
- Selecting the best paper for marker art
- Preventing streaks, feathering, and bleed-through
For most beginners, mastering these basics matters more than buying a large color set.
Start With The Right Marker Type
Before technique comes tool selection. Beginners often struggle because they use the wrong marker for the effect they want.
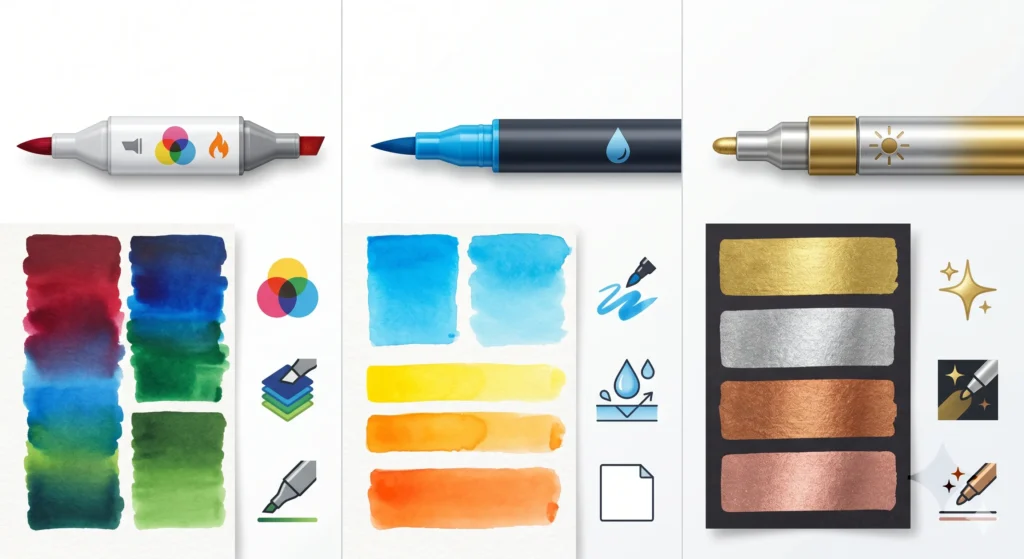
Alcohol-Based Markers Vs Water-Based Markers
Alcohol based markers for beginners are popular because they dry quickly, blend smoothly, and create even color fields. They are widely used in illustration, design sketching, and manga-style art.
Water-based markers are easier to clean and are often preferred for simple coloring, hand lettering, or children’s art. However, they may pill paper more easily if overworked.
| Marker Type | Main Solvent | Best Use | Key Benefit | Common Limitation |
| Alcohol-based markers | Alcohol | Illustration, rendering, smooth gradients | Fast drying, smooth blending | Can bleed through thin paper |
| Water-based markers | Water | Coloring, lettering, beginner crafts | Easier cleanup, lower odor | Less smooth blending on some papers |
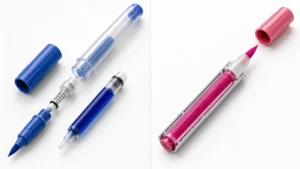
| Metallic markers | Pigment or specialty ink system | Decorative highlights, dark surfaces, craft art | Reflective finish, strong visual contrast | Not always ideal for broad blending |
At ZH STATIONERY, our in-house ink R&D team develops safe, vibrant custom ink systems for markers, acrylic products, and metallic markers. That matters because stable ink flow and color consistency make beginner practice much easier.
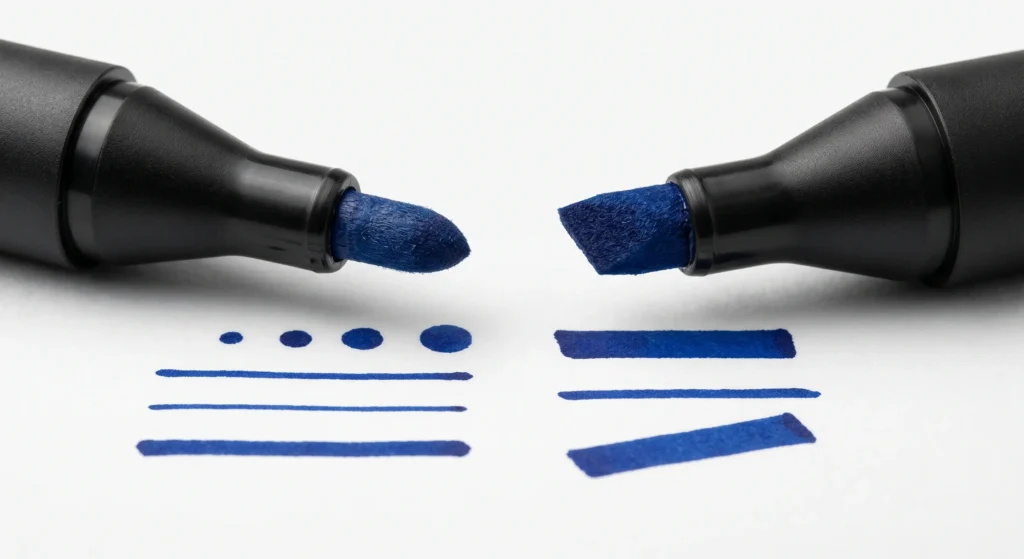
Bullet Tip Vs Chisel Tip Markers
Understanding bullet tip vs chisel tip markers helps beginners choose the right tool for each task.
- Bullet tip: Better for outlines, small details, and controlled strokes
- Chisel tip: Better for broad fills, angled strokes, and quick coverage
- Dual-tip markers: A practical choice for beginners who want both functions in one pen
If you are practicing basic marker shading techniques, a chisel tip often helps you cover large areas more evenly.
Choose The Best Paper For Marker Art
Paper has a major effect on results. Even a high-quality marker can perform poorly on the wrong surface.
What To Look For In Marker Paper
The best paper for marker art usually has:
- Smooth surface texture
- Good ink holdout
- Limited feathering
- Moderate bleed resistance
- Enough strength for layering
Thin office paper can lead to bleed-through, rough edges, and patchy fills. Marker pads or bleedproof paper are better for regular practice.
Quick Paper Selection Tips
- Use smooth marker paper for blending
- Put a scrap sheet behind your artwork to catch bleed-through
- Avoid heavily textured paper for fine marker rendering
- Test one corner before starting a finished piece
From a manufacturing standpoint, artists often blame the marker when the real issue is poor paper compatibility. In product testing, we always check ink behavior across different paper stocks to ensure reliable performance.
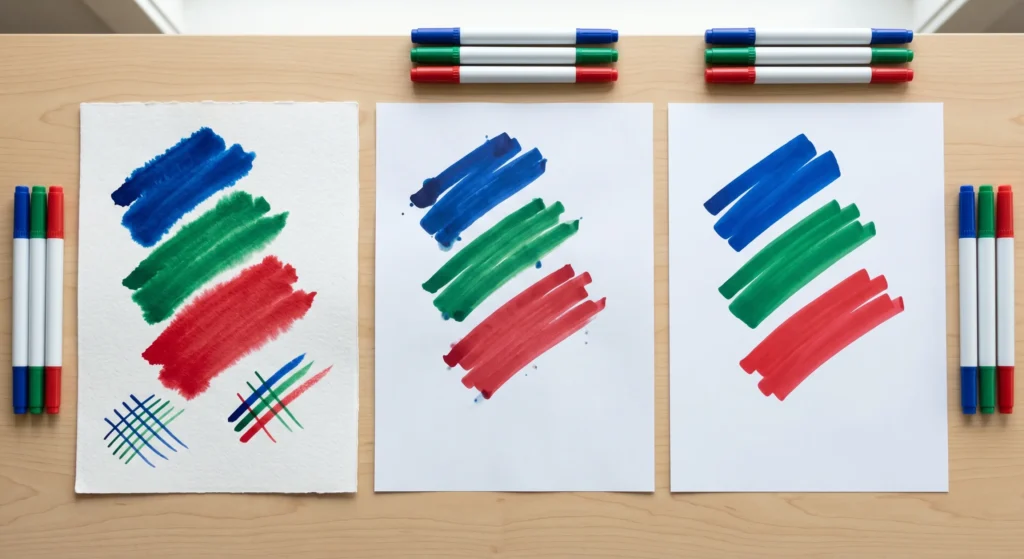
Build Control With Basic Stroke Practice
The first physical skill beginners need is stroke control. This is one of the most important marker techniques every beginner artist should learn because uneven pressure creates streaks and inconsistent tone.
Practice These Core Strokes
Spend 10 to 15 minutes practicing:
- Straight lines
- Curved lines
- Small circles
- Parallel strokes
- Back-and-forth fill blocks
- Tapered strokes
Try to keep pressure steady. Let the nib glide instead of pressing too hard. Excess pressure can damage the tip and reduce ink flow consistency over time.
Keep The Nib Angle Consistent
For broader coverage, hold a chisel tip at one stable angle. If you rotate the pen too much during filling, the color may appear uneven.
This is especially important with large illustrations or product rendering sketches.
Learn How To Fill Large Areas Without Streaks
Many beginners notice visible overlap marks. This happens when one part dries before the next stroke reaches it.
How To Get A Smooth Fill
To fill an area evenly:
- Work quickly
- Use overlapping strokes
- Move in one direction
- Keep a wet edge
- Use paper suited for marker ink
For medium and large shapes, start from one side and move across the area with slightly overlapping passes. This reduces patchiness.
Common Mistakes That Cause Streaks
- Using slow, disconnected strokes
- Going over half-dry ink too many times
- Working on rough paper
- Using a damaged or frayed nib
For manufacturers, nib stability matters here. At ZH STATIONERY, our quality control process checks tip assembly, ink saturation, and writing performance to support smooth application in both bulk OEM and branded marker programs.
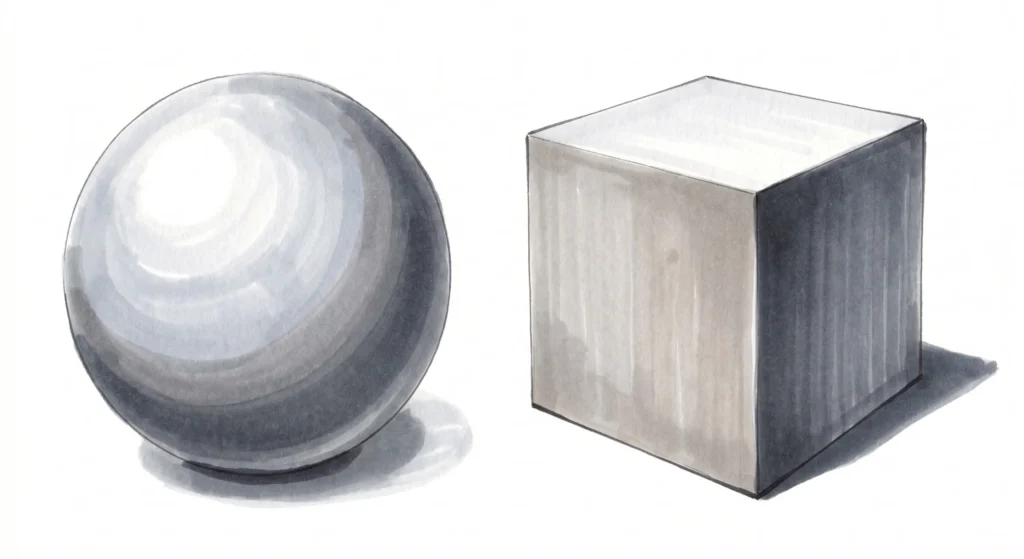
Master Layering And Marker Shading Techniques
Layering is the foundation of depth. It is one of the marker techniques every beginner artist should learn early because it turns flat color into form.
Start Light, Then Go Dark
Apply lighter tones first. Then add mid-tones and shadows gradually. This gives you more control and reduces harsh transitions.
A simple shading order is:
- Base tone
- Mid-tone
- Shadow tone
- Deepest accent
Use Repeated Passes Carefully
Marker shading techniques often rely on controlled layering with the same color. A second pass can darken the area slightly. But too many passes may oversaturate paper and create muddy edges.
Where To Place Shadows
Beginners can improve quickly by using one light source. Keep all shadows on the opposite side of that light.
Good places to add shadow:
- Under folds
- Beneath objects
- Along edges facing away from light
- Where forms overlap
How To Blend With Markers
If you want smoother transitions, learning how to blend with markers is essential.
Simple Two-Color Blending Method
Use two close shades, such as light blue and medium blue.
- Lay down the lighter color
- Add the darker color where the shadow should be
- Go back with the lighter color to soften the edge
- Repeat once if needed before the area dries
This process works well with alcohol-based systems because the solvent helps colors merge.
Colorless Blender: Helpful But Not Magic
A colorless blender can soften edges, push pigment, or create highlights. But it does not always “blend” like beginners expect. In many cases, using two close shades gives better results.
Tips For Better Blending
- Work on small areas first
- Blend while the ink is still wet
- Choose colors that are close in value
- Avoid too many layers on one spot

Use Highlights To Make Artwork Look More Professional
Highlights create contrast and visual focus. Even simple drawings look better when light areas are planned in advance.
Three Easy Ways To Create Highlights
- Leave white paper untouched
- Use a lighter marker tone
- Add details later with a white gel pen or paint marker
Leaving the paper white usually gives the cleanest highlight.
Metallic Markers For Accent Effects
Metallic markers are excellent for decorative highlights, mixed-media work, cards, packaging concepts, and dark paper applications. They are not a substitute for all blending work, but they add strong visual impact.
For B2B buyers, consistency matters even more with metallic ink because shimmer distribution and opacity affect the final finish. ZH STATIONERY’s in-house ink formulation helps control these properties for custom OEM/ODM projects.
Avoid Common Beginner Problems
Many early frustrations come from a few repeat issues.
Bleed-Through
Bleed-through is common with alcohol markers. It does not always mean the marker is defective.
How to manage it:
- Use marker paper
- Place a protective sheet underneath
- Avoid very thin paper
Feathering
Feathering happens when ink spreads beyond the line.
Common causes:
- Paper that is too absorbent
- Too much ink in one spot
- Damaged surface coating on paper
Nib Wear
Worn nibs can make precise work difficult.
To extend nib life:
- Cap markers tightly after use
- Do not press too hard
- Avoid rough or textured paper
- Store as recommended by the brand
From a factory perspective, nib material, ink balance, and assembly precision all affect durability. This is one reason buyers should work with an experienced manufacturer rather than choosing only by price.
Build A Simple Beginner Practice Routine
You do not need complex lessons to improve. A short, repeatable routine works best.
15-Minute Marker Practice Plan
- 5 minutes: line and stroke warm-up
- 5 minutes: smooth fill blocks and gradients
- 5 minutes: shade simple forms like spheres, cubes, or leaves
Do this three to five times per week. Over time, your hand control and color confidence will improve.
Best Subjects For Beginners
Try practicing on:
- Fruit
- Leaves
- Basic geometric shapes
- Cartoon characters
- Product sketches
- Simple flowers
These subjects let you practice light, shadow, and color transitions without too much complexity.
What Buyers And Art Brands Should Know About Marker Quality
This article focuses on art technique, but buyers, distributors, and private-label brands should also understand product quality.
Quality Factors That Affect User Experience
Important marker quality indicators include:
- Ink flow consistency
- Cap seal performance
- Tip resilience
- Lightfastness expectations
- Barrel comfort
- Packaging protection
- Safety compliance
Markers intended for broad distribution should also meet relevant standards such as EN71 and ASTM D-4236 where applicable.
ZH STATIONERY supports this with 100% quality control, a 4,000 sqm factory, automated assembly lines, and low-MOQ customization starting at 2,000 pieces. For importers and brands, that means better control over product development, packaging, and production timelines.
Conclusion: Practice These Marker Techniques Every Beginner Artist Should Learn
The marker techniques every beginner artist should learn are not difficult, but they do require method and repetition. Start with the right marker type, use suitable paper, practice even strokes, learn basic layering, and blend colors while the ink is still workable.
Beginners usually improve fastest when they focus on core habits instead of advanced effects. And for brands or distributors sourcing art markers, product quality plays a direct role in the end user’s learning experience.
If you are developing a marker line or looking for reliable OEM/ODM support, ZH STATIONERY can help with customized marker pens, metallic markers, packaging, and sampling. You can contact our team for samples, a quotation, or a product catalog.
Frequently Asked Questions
Are Alcohol-Based Markers Good For Beginners?
Yes. Alcohol-based markers are often a strong choice for beginners because they dry fast, layer smoothly, and make blending easier. They do bleed through paper more often, so marker paper or a protective sheet underneath is recommended.
What Is The Best Paper For Marker Art?
The best paper for marker art is usually smooth marker paper or bleed-resistant paper made for alcohol ink. It should limit feathering and support smooth color laydown. Rough paper can damage nibs and create uneven fills.
How Do I Blend Markers Without Making Muddy Colors?
Use two colors that are close in shade, work in small areas, and blend while the ink is still wet. Start with the lighter color, add the darker shade, then return with the lighter marker to soften the transition.
How Can I Tell If A Marker Is High Quality?
Look for steady ink flow, strong cap seal, durable nibs, safe ink formulation, and reliable certifications where needed. At ZH STATIONERY, our markers are produced with in-house ink R&D and 100% quality control, which helps maintain consistency for both artists and private-label buyers.
Are Metallic Markers Suitable For Beginners?
Yes, especially for highlights, decorative lettering, dark paper projects, and mixed media. Beginners should know that metallic markers are best for accent work rather than full-tone blending.
What Should Importers Look For In A Marker Manufacturer?
Importers should check OEM/ODM experience, product testing, safety compliance, customization options, MOQ, and production capacity. At ZH STATIONERY, we bring 26+ years of manufacturing experience, EN71/ASTM-focused compliance awareness, low MOQ options, and factory-direct production. If you are sourcing markers for your brand, you can reach out here for samples or a quotation.